Type-Safe State Management with React's Built In Hooks
#typescript, #useContext, #useReducer, #hooks, #react
Jun 04, 202413 min read

Occasionally, resorting to an external state manager in our React projects might feel like bringing a bazooka to a knife fight—effective, but perhaps a bit excessive. Often, what we truly seek is a means to store our global state outside individual components, to sidestep prop drilling. Thankfully React’s native duo, useContext and useReducer offer a lightweight yet powerful solution for managing global state.
useContext simplifies the process of passing data down the component tree, while useReducer houses our state logic. Together, they make it easy to craft our very own in-house state manager, giving us full control over our app's state without any unnecessary complexity.
To access the full source code for this tutorial, visit the GitHub repository here. Feel free to clone, fork, or star the repository for future reference and experimentation.
This article was originally posted here.
React Context is Not State Management
Before we dive in, its important we clear any misconceptions about React’s Context API. Context and Redux are not the same nor is it a state management tool. Instead, it is a form of dependency injection.
I think Mark Erikson did a fantastic job of clarifying what context is and how it should be used in his article. The gist of it is
- it’s not a state manager
- it’s not the same as redux
- use context when you want to avoid prop drilling
- "state management" is done typically via
useState/useReducer.
Setting up the context
After creating your react app, in the src folder, create a folder called context.
Creating the context
Usually you name your context after the data you’re managing but for this demo we’ll keep it simple. In the contextfolder, create a new file named AppContext.tsx and add the following snippet.
// context/AppContext.tsx

import { ReactNode, createContext } from 'react';

// Define the type for your context data
type AppContextType = {
  message: string,
};

// Create the context with an initial value of null
export const AppContext = (createContext < AppContextType) | (null > null);

// Define the props type for the context provider component
type ContextProviderProps = {
  children: ReactNode,
};

// Define the provider component
function AppContextProvider({ children }: ContextProviderProps) {
  return (
    <AppContext.Provider value={{ message: 'Hello World' }}>
      {children}
    </AppContext.Provider>
  );
}

export default AppContextProvider;
This code snippet creates the context, exports it as well as the provider component for wrapping our app.
Creating the context
We use the createContext function to create a context object. We’ve informed TypeScript about the expected data type that our context will hold, which as of now is just a string. Initially the context is null, but eventually, the actual values will be provided by our reducer.
The Provider
Each context object includes a Provider React component, that allows components that use the context to subscribe to its changes. The Provider component accepts a value prop, that holds the data the descendant components will access. The AppContextProvider returns the Provider that will wrap the children components, along with the values to pass to its children.
Providing the Context
We can provide the context to our components by wrapping our App component with the <AppContextProvider>. Now, all child components of App will have access to the context’s data.
// src/main.tsx

ReactDOM.createRoot(document.getElementById("root")!).render(
  <React.StrictMode>
    <AppContextProvider>
      <App />
    </AppContextProvider>
  </React.StrictMode>
);
Using the Context
We can use the useContext hook to access our context data within our components.
// src/App.tsx

import { useContext } from 'react';
import { AppContext } from './context/AppContext';

function App() {
  const context = useContext(AppContext);

  return (
    <>
      <h3>useContext & useReducer with TypeScript in React</h3>
      <p>{context.message}</p>
    </>
  );
}

export default App;
When using this snippet, TypeScript warns that 'context' could potentially be null because its initial value is set to null. Since we typed the context as AppContextType | null, TypeScript cannot guarantee that context will be non-null when accessed. This warning ensures we check if context is null before accessing its properties.
Using the context with a Custom Hook
To address this, we can create a custom hook that handles the null-checking logic for us. Back in your context folder, create a file named useAppContext.ts and add the following snippet
import { useContext } from 'react';
import { AppContext } from './AppContext';

export function useAppContext() {
  const context = useContext(AppContext);

  if (!context) {
    throw new Error(
      'The App Context must be used within an AppContextProvider'
    );
  }

  return context;
}
Now, we can safely consume our context in the App component using this custom hook.
import './App.css';
import { useAppContext } from './context/useAppContext';

function App() {
  const context = useAppContext();

  return (
    <>
      <h3>How to use useContext & useReducer with TypeScript in React</h3>
      <p>{context.message}</p>
    </>
  );
}

export default App;
With this approach, our context is properly typed, and we can use it without worrying about null values. With our context setup, let’s move forward and build our reducer.
Building A Type-Safe Reducer
Let's shift our focus on building our reducer. The reducer will act as our global state and will live within our context. It houses the logic for modifying the context's data based on dispatched actions.
For this demonstration, we're steering clear of the classic counter example.(Cue the collective sigh of relief).

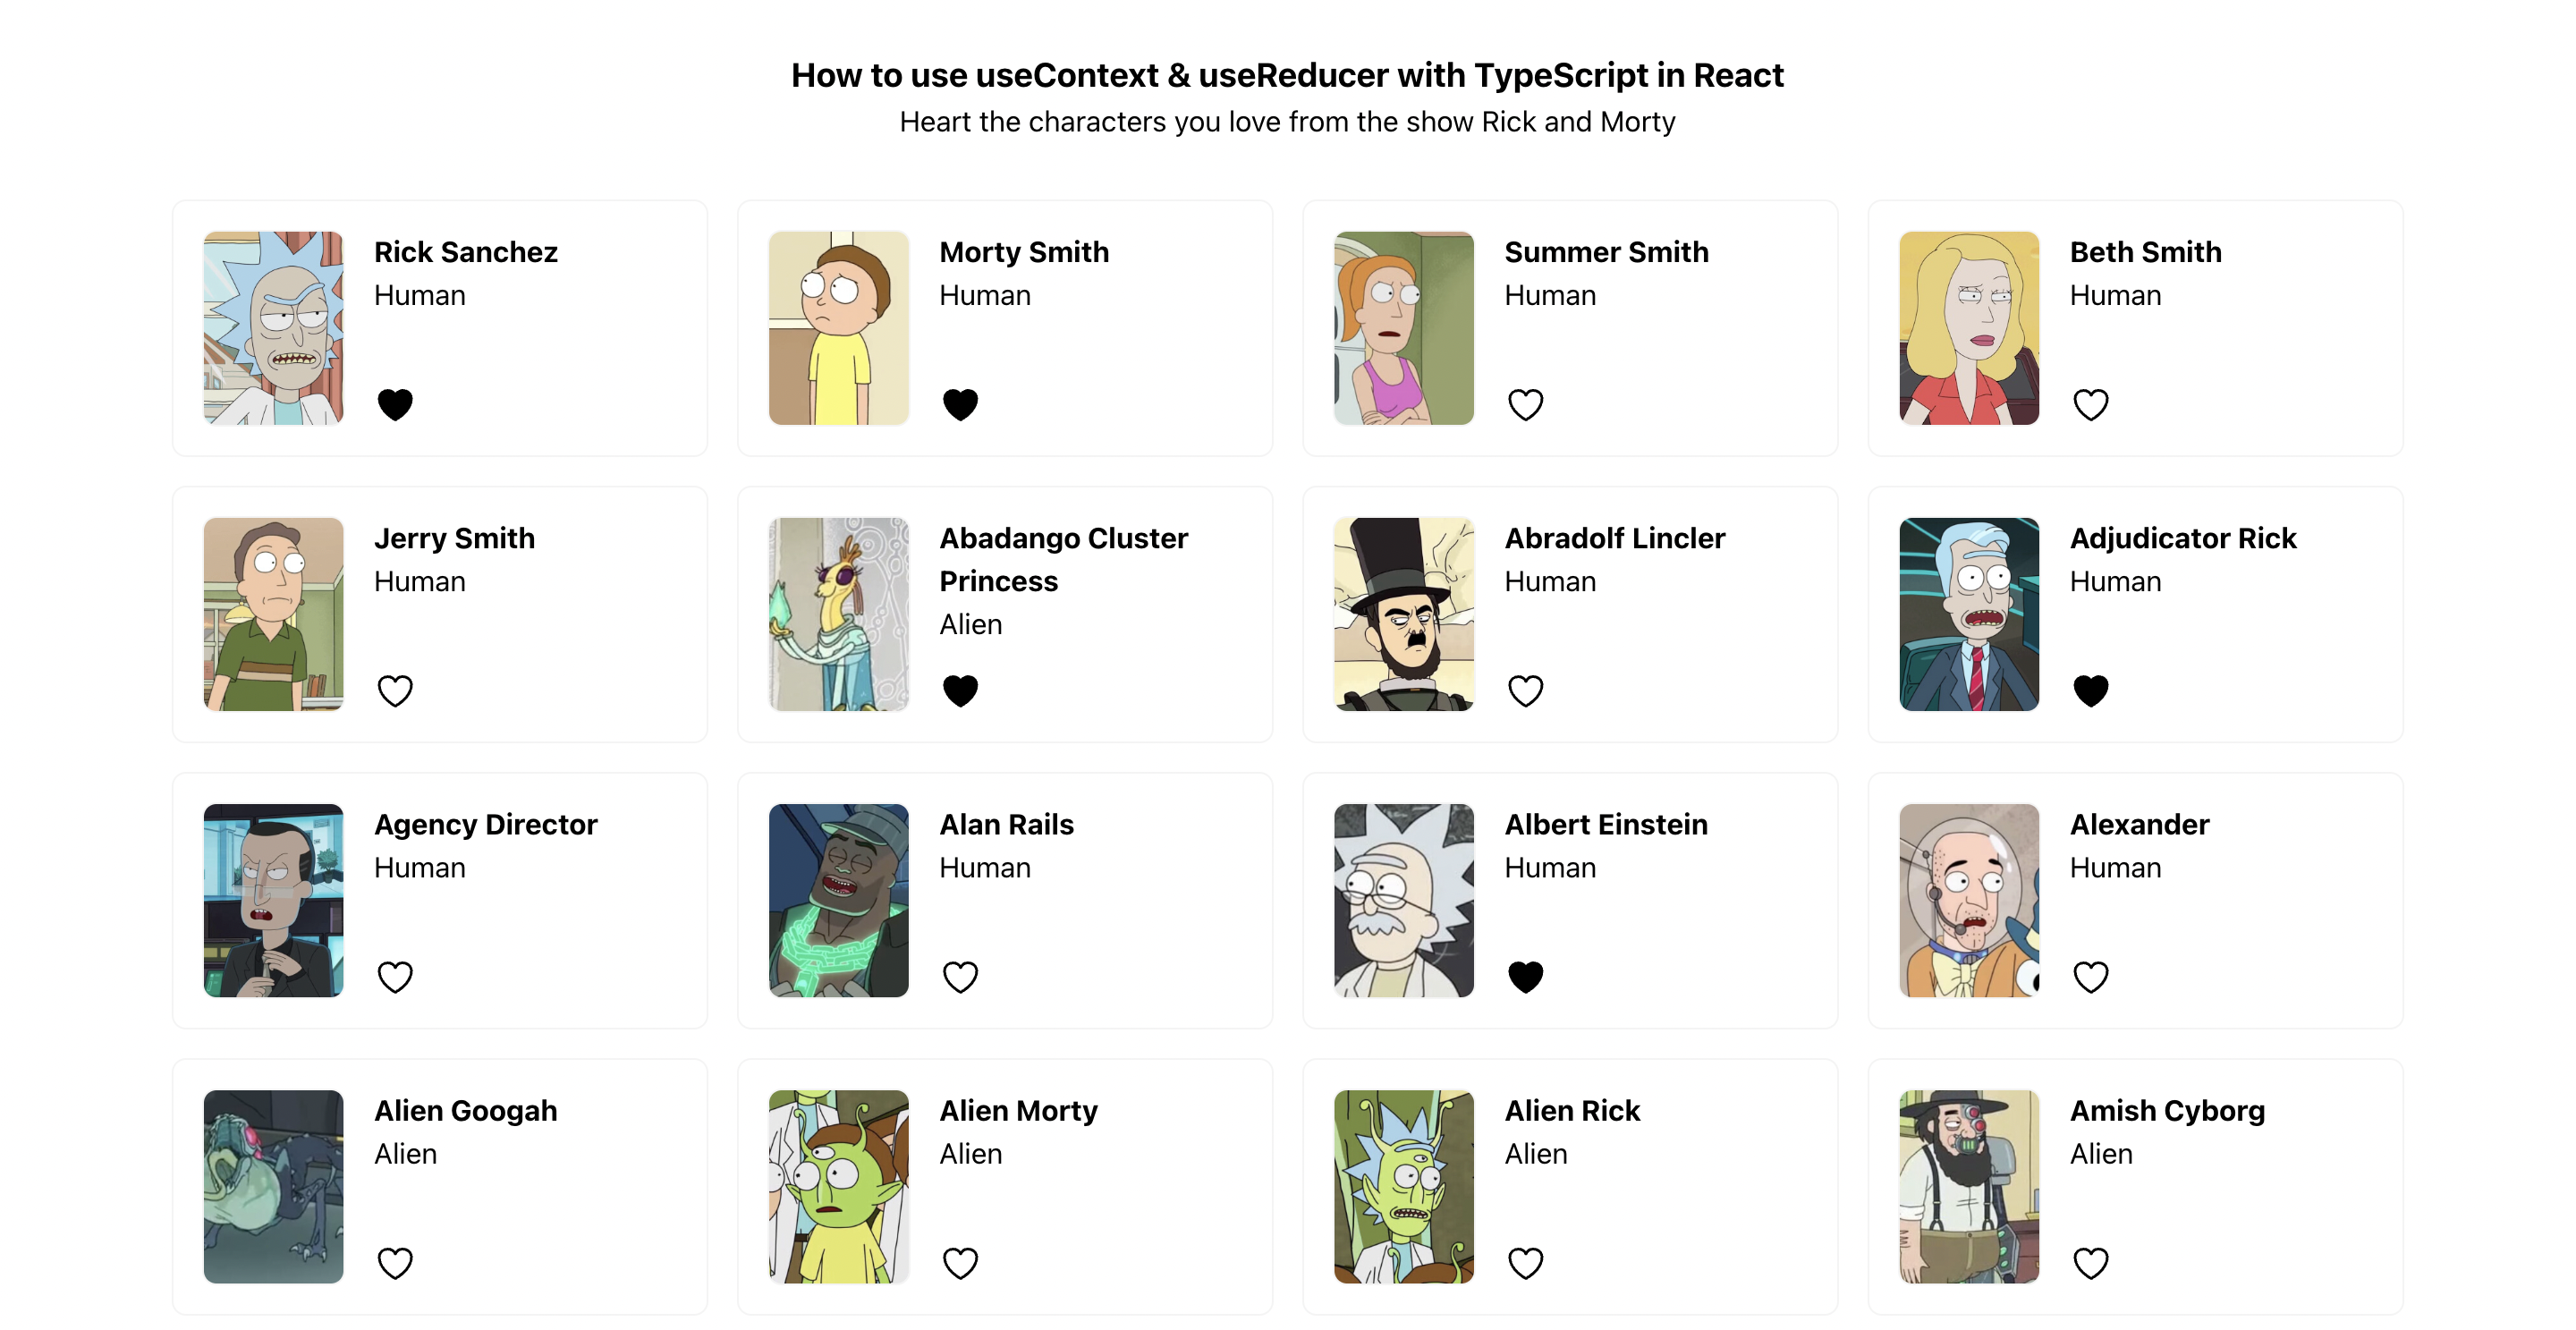
Instead, we're diving into something far more captivating: storing character data from the Rick & Morty API. The reducer will manage character snippets of our favourite characters and we'll define actions to manipulate this data and breathe life into our application.
Understanding the Data
Before we delve into building the reducer, let's familiarize ourselves with the character data we'll be handling. Here's the type definition for a character fetched from the API. The isLiked property is added to manage our liked characters.
// src/types.ts

export type Character = {
  id: number,
  name: string,
  species: string,
  image: string,
  isLiked: boolean,
};
Fetching Character Data
In a utility function, fetchCharacters.ts, we'll fetch character data from the Rick & Morty API endpoint. This data will serve as the foundation for our application's state.
import { Character } from '../types';

export async function fetchCharacters() {
  const url = '<https://rickandmortyapi.com/api/character/?page=1>",';

  try {
    const response = await fetch(url);
    const data = await response.json();

    const characters = data.results.map((character: Character) => {
      return {
        id: character.id,
        name: character.name,
        species: character.species,
        image: character.image,
        isLiked: false,
      };
    });

    return characters;
  } catch (error) {
    console.error('Error fetching characters:', error);
    throw new Error('Failed to fetch characters');
  }
}
Actions
Actions are how we update our state. They are simple JavaScript objects containing information that instructs the reducer on how to modify the state. Conventionally, an action object includes a type and a payload.
const action = { type: 'NAME_OF_ACTION', payload: 'DATA_TO_SEND' };
Creating Actions
We’ll define our actions using TypeScript within the src/actions directory.
// src/actions/index.ts

import { Character } from "../types";

// Define action types as an enum to ensure consistency and prevent typos
export enum ActionTypes {
  SET_CHARACTERS = "SET_CHARACTERS",
  LIKE_CHARACTER = "LIKE_CHARACTER",
  DISLIKE_CHARACTER = "DISLIKE_CHARACTER",
}

// Define type for each action type to enforce type safety
export type SetCharactersAction = {
  type: ActionTypes.SET_CHARACTERS;
  payload: Character[];
};

export type LikeCharacterAction = {
  type: ActionTypes.LIKE_CHARACTER;
  payload: number;
};

export type DislikeCharacterAction = {
  type: ActionTypes.DISLIKE_CHARACTER;
  payload: number;
};

// Define a union type Actions to represent all possible action types
export type Actions =
  | SetCharactersAction
  | LikeCharacterAction
  | DislikeCharacterAction;
In this snippet, we define several type definitions for each action. The ActionTypes enum ensures consistency by providing named constants for each action type, reducing the likelihood of typos when dispatching actions.
Build the Reducer
Create a reducer folder, add an index.ts file and add the following snippet.
import { ActionTypes, Actions } from '../actions';
import { Character } from '../types';

export type State = {
  characters: Character[],
};

export const initialState: State = {
  characters: [],
};

export function reducer(state: State, action: Actions) {
  switch (action.type) {
    case ActionTypes.SET_CHARACTERS:
      // Return a new state with the characters array updated
      return {
        ...state,
        characters: action.payload,
      };

    case ActionTypes.LIKE_CHARACTER: {
      // Create a copy of the current state
      const stateCopy = { ...state };

      // Find the character to be liked
      const character = stateCopy.characters.find(
        (c) => c.id === action.payload
      );

      // Ensure the character exists
      if (!character) {
        throw new Error('Character not found. Cannot like character.');
      }

      // Mark the character as liked
      character.isLiked = true;

      // Return the updated state
      return stateCopy;
    }

    case ActionTypes.DISLIKE_CHARACTER: {
      // Map over the characters array to create a new array with updated characters
      const characters = state.characters.map((character) => {
        if (character.id === action.payload) {
          // Create a new object with updated properties for the target character
          return { ...character, isLiked: false };
        }
        // Return unchanged character for other IDs
        return character;
      });

      // Return the updated state with the new characters array
      return { ...state, characters };
    }

    default:
      return state;
  }
}
Let’s walk through how this works
Types and Initial State
Outside the reducer, we define types for our state and initial state to ensure type safety throughout our app.
- State Type: Describes the shape of our app’s state, ensuring it contains the necessary fields and their respective types. This prevents errors related to accessing undefined properties or incorrect data types.
- Initial State: Represents the starting point of our application. In this setup, we initialize
charactersas an empty array.
Reducer
At their core, reducers are pure functions responsible for updating application state based on dispatched actions. They accept the current state and an action, and return a new state based on the action type.
A key characteristic of reducers is their purity. This means that for a given input, reducers always produce the same output without modifying the input or causing side effects. You can read more about them in the react docs.
Actions
In our switch statement, each case represents a different action. These actions are the ones defined in our enum. Take note of how each action never mutates the original state.
SET_CHARACTERS: Sets the characters to the payload it receives.LIKE_CHARACTER: Creates a shallow copy of the current state and updates theisLikedproperty of the target character totrue.DISLIKE_CHARACTER:Uses themapfunction to create a new array with updated characters to preserve immutability asmapreturns a new array. The action payload is used to update theisLikedproperty tofalse.
While we could have merged the logic for liking and disliking characters into a single toggle_like action, I chose to keep them separate for clarity. This showcases different ways to manipulate the state without mutating it.
The useReducer Hook
The useReducer hook is similar to useState but offers different functionality.
It accepts two arguments:
- A reducer function: Responsible for managing state transitions based on dispatched actions.
- An initial state: The initial value of the state.
And returns:
- A stateful value: The current state managed by the reducer.
- A dispatch function: Used to dispatch actions to the reducer, triggering state updates.
In our AppContext.tsx file, we update the AppContextType and provider to include the useReducer hook.
// context/AppContext.tsx

import { createContext, useReducer } from 'react';
import { Actions } from '../actions';
import { State, initialState, reducer } from '../reducer';

// Define the type for our context data
type AppContextType = {
  state: State,
  dispatch: React.Dispatch<Actions>,
};

// Define the provider component
function AppContextProvider({ children }: ContextProviderProps) {
  // useReducer hook to manage state with our reducer function and initial state
  const [state, dispatch] = useReducer(reducer, initialState);

  // Provide the state and dispatch function to the context value
  return (
    <AppContext.Provider value={{ state, dispatch }}>
      {children}
    </AppContext.Provider>
  );
}

export default AppContextProvider;
In this update, AppContextType is modified to inform TypeScript about the values returned by the useReducer hook. We pass our reducer function and initial state to useReducer. The resulting state and dispatch function are provided to the context value, making them globally accessible within our app.
Dispatching Actions
Dispatching actions is where the magic happens! With the state and dispatch function in hand, let's fetch the character data from the API and update the state.
In App.tsx, we use useEffect to fetch the data after the component mounts and dispatch an action with the results.
// src/App.tsx

const { dispatch } = useAppContext();

useEffect(() => {
  fetchCharacters()
    .then((characters: Character[]) => {
      dispatch({ type: ActionTypes.SET_CHARACTERS, payload: characters });
    })
    .catch((error) => {
      console.error('Failed to fetch characters:', error);
    });
}, [dispatch]);
Another type-safe alternative is to explicitly specify the type of action being dispatched.
const set_characters: SetCharactersAction = {
  type: ActionTypes.SET_CHARACTERS,
  payload: characters,
};
dispatch(set_characters);
Displaying Context Data
Now that the characters are stored in the reducer's state, let's subscribe to the context and display them.
// components/CharacterList.tsx

import { useAppContext } from '../context/useAppContext';
import Character from './Character';

function CharacterList() {
  const { state } = useAppContext();

  const characters = state.characters.map((character) => {
    return <Character key={character.id} character={character} />;
  });

  return <ul className='list'>{characters}</ul>;
}

export default CharacterList;
The CharacterList component extracts the characters from the context's state and maps over them to pass each character to the Character component.
Don't forget to add the CharacterList component in App.tsx .
// src/App.tsx

import CharacterList from './components/CharacterList';

function App() {
  // ...

  return <CharacterList />;
}
Our Character component will be responsible for displaying each individual character and dispatching the action to like/dislike a character.
// components/character

import { ActionTypes } from '../actions';
import { useAppContext } from '../context/useAppContext';
import { LikeIcon, LikeIconSolid } from '../icons';
import { type Character } from '../types';

type Props = {
  character: Character,
};

function Character({ character }: Props) {
  const { dispatch } = useAppContext();

  function handleLike() {
    if (!character.isLiked) {
      dispatch({ type: ActionTypes.LIKE_CHARACTER, payload: character.id });
    } else {
      dispatch({ type: ActionTypes.DISLIKE_CHARACTER, payload: character.id });
    }
  }

  return (
    <li className='character'>
      <figure>
        <img src={character.image} alt={character.name} />
      </figure>

      <div className='details'>
        <h4 className='name'>{character.name}</h4>
        <p className='species'>{character.species}</p>

        <span className='like-icon' onClick={handleLike}>
          {character.isLiked ? <LikeIconSolid /> : <LikeIcon />}
        </span>
      </div>
    </li>
  );
}

export default Character;
In the Character component, we display the character details received via props. Based on the character.isLikedvalue, we show the appropriate icon. Clicking the icon triggers the handleLike function, which dispatches either a LIKE_CHARACTER or DISLIKE_CHARACTER action based on the isLiked state. This action updates the UI accordingly.
With this final step, we've successfully combined useReducer and useContext and built our own state manager. 🥳 You can view the source code for this tutorial here.
Conclusion
Combining useContext and useReducer allows us to manage our state and make it accessible to nested components. By defining a reducer function and its initial state, and providing them to the useReducer hook, we obtain the state and dispatch function.
By passing these values into the context provider and wrapping our app, components can easily access and modify application state.
While this duo is not a complete alternative to Redux, it is a great choice if:
- You need to avoid prop-drilling,
- You have moderately complex React component state,
- Or you prefer not to use an external library.
Using useContext and useReducer simplifies state management and reduces the need for external packages.

Back to Blogs